|
Static Image Overlay |
  
|
| Show/Hide Hidden Text |
|
Static Image Overlay |
|
| Show/Hide Hidden Text |
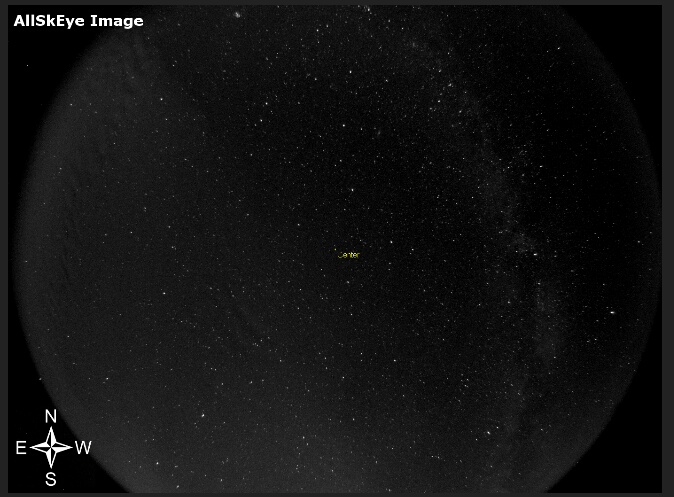
The static overlay image function allows the adding of any static content (i.e. content that doesn't change from image to image) such as static text, logos, marker, compass rose, etc.on top of the created output image. To tell the application what to add to the output images you have to create a 'template image' with a transparent background (in png format). The application will load this template image and extract any pixels that are not transparent. These pixels are then added on top of each output image.
Please Note: The application will reload the static image file automatically if the file has been changed since the last time an image was created. This allows dynamic updating of the static overlay file.
You will nee an image manipulation program that can handle transparent images to create the template image. Whilst Photoshop or similar will certainly work a very good free alternative is the 'Gimp' application which is very powerful and has lots of tutorials and help if you get stuck. Here is a short tutorial on how to create a simple overlay file. Please note that although the below sample only adds 'white' content any color is possible.
Create Empty Transparent Image: Open Gimp and select 'File -> New'. In the panel set the required image height and width (this must match your image size), then expand the advanced options and set 'Fill with: Transparency'
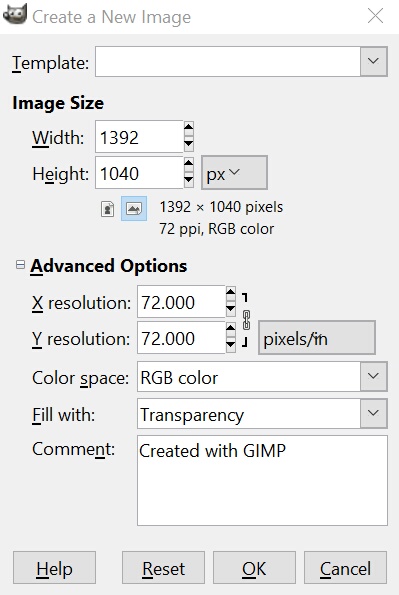
This will create the empty transparent image with the specified size:
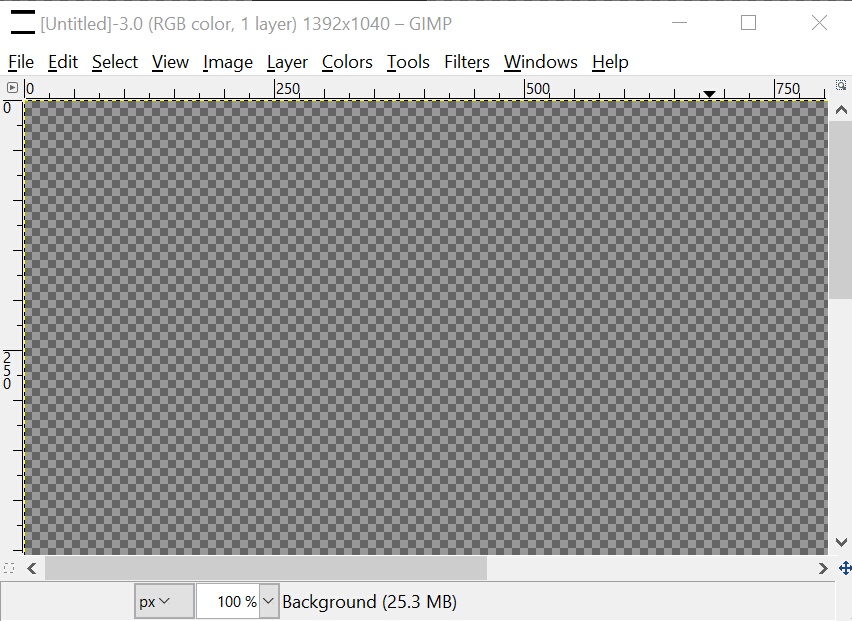
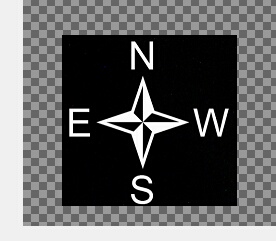
Now you can add your overlay content i.e. static text and marker etc.
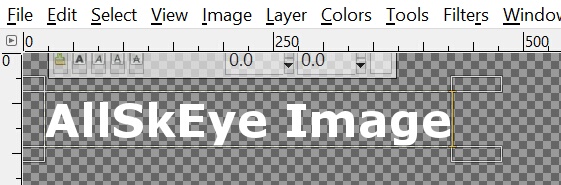
You can use the drawing tools in Gimp or also paste in graphics from other sources. Sometimes this content does not have a transparent background yet:
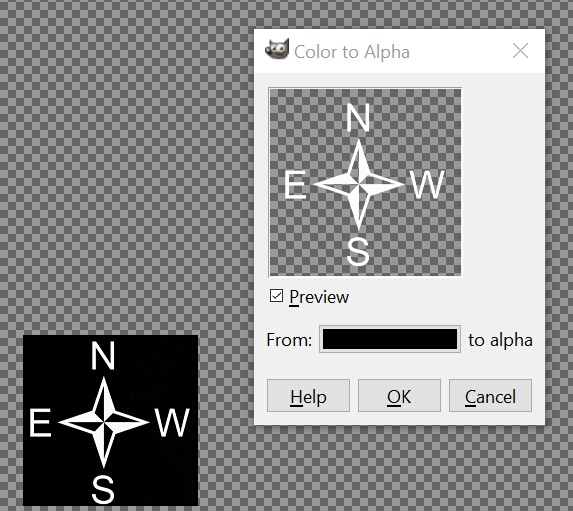
Gimp does provide various tools to select areas which you can use to then set those areas to transparent. A quick one is to use the
'Colors -> Colors to alpha' option. Set the color you would like to set to transparent (or pick it) then click OK.
This finished image:

Now you can save the file by:
| • | File -> Export As |
| • | Set Name |
| • | Select PNG image as the output format |
| • | Click Export |

You can now set the created image as the 'Overlay File' in the 'Latest Image' or Image Conversion' settings:

The final result: