|
Image Preview |
  
|
|
Image Preview |
|
The image preview can be used in two ways:
| • | Display the most recent image when running the system. The preview image will be replaced as soon as the next image has been downloaded from the camera. |
| • | To take manual single or looped acquisitions for testing and calibrating purposes |
To display preview image please tick the 'Turn On' checkbox. For normal operations (i.e. no user interaction) it is recommended to turn off image preview to
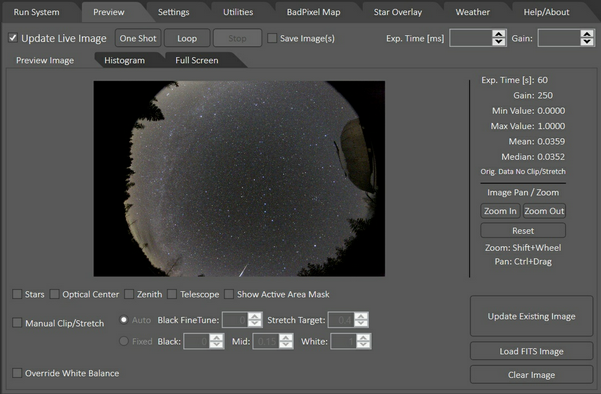
Image Preview Tab
Full Screen Preview (PRO Feature)
A full screen version of the image preview can be launched in a separate window. The controls to open it are on the 'Full Screen' tab of the image preview tab:
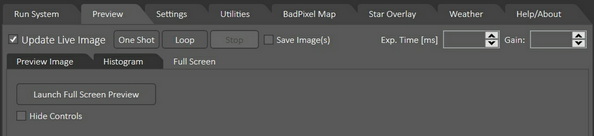
| • | To open the full screen preview window just click the ;Launch Full Screen Preview' button |
| • | To Hide/Unhide the controls on the preview window tick or untick the 'Hide Controls' checkbox. If ticked the external preview window will only show the acquired images. |
Please Note: The full screen image preview window is directly linked to the image preview tab i.e. if you make any changes to controls in the tab this will also be applied to the external window and vice versa. The pan and zoom controls however are not linked and can be operated independently.
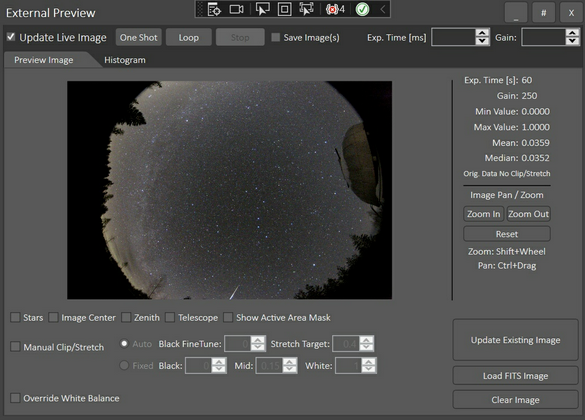
External Preview
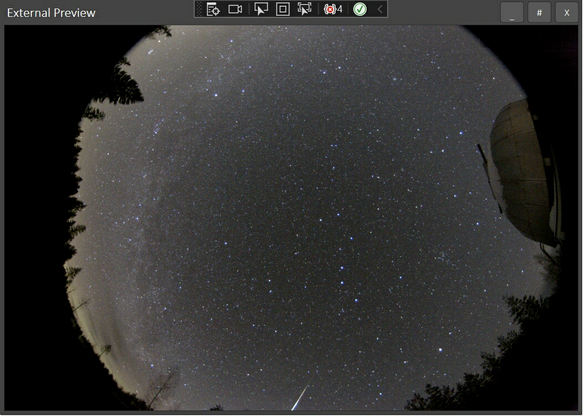
External Preview without Controls
Auto Launch External Preview:
It is possible to auto launch the external preview in full screen mode whenever the application is auto started. Please see here for details.
Testing / Individual Operations
For testing and setup purposes the preview tab can be used to capture individual or looped images:

| • | Update Live Image: If ticked then acquired images will be shown on this tab when the system is running. If un-ticked the system can still run but the preview will not be updated (but you can work with the last image in the preview). |
| • | One Acquisition: take one image |
| • | Loop: Take images continuously until stopped |
| • | Save Images(s): Images taken with these controls will only be saved to the acquisition folder if this box is ticked |
| • | Exp. Time [ms]: Can be used to set the exposure time for test images. If empty the currently applicable exposure time from the settings will be used. |
| • | Gain: Can be used to set the gain value for test images. If empty the currently applicable gain from the settings will be used. |
Settings Override / Load Image Controls
When taking single or looped manual images the app will use the current system settings to set exposure time, gain etc. However the preview tab provides some controls to override the system settings:

| • | Stars / Image Center / Zenith / Telescope / Show Active Area Mask: If ticked these items will be displayed on the preview image (if appropriate settings have been set). |
| • | Manual Clip/Stretch: Here you can override the clip and stretch settings to experiment with different values. |
| • | Override Colour Balance: Overrides the colour balance values from the system settings. This can be used to test and adjust colour balance settings. Please note that these values will not be saved in the system settings. Once you have arrived at good settings for colour balance you need to manually transfer them to the system settings on the settings tab. |
| • | Update Existing Image: Reload image and apply any override controls |
| • | Load FITS Image: Load an existing FITS image into the preview image |
| • | Clear Image: clear the current preview image |
Please note that the existing image will not be updated until the 'Update Existing Image' button is clicked. If acquisitions are ongoing (the system is running or looped acquisitions are taken) the changes made to the override settings will be applied the next time the image is updated.
Zoom
The preview image can be zoomed an panned by using the provided controls or mouse. Zoom controls are provided on the right hand side of the preview image. The image can also be zoomed and panned by mouse as follows:
| • | Zoom In/Out: Shift + Mouse Wheel |
| • | Pan: Ctrl + Drag |
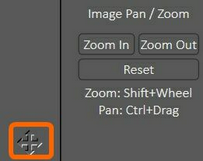
The preview image also provides an additional small zoom and pan popup window which can be opened by clicking the small arrow indicator at the bottom right of the image:

Histogram
The preview image histogram can be viewed on the 'Histogram' tab inside the Image Preview tab. Please note that if a histogram clip / stretch has been applied the histogram will change accordingly. You can return the histogram to show the original image values by clicking the 'Reset Image' button on the preview tab.
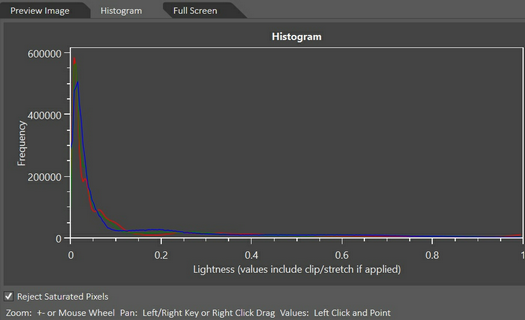
On this tab you can also:
| • | Tick/Untick the 'Reject Saturated Pixels' tick box: This will discard any fully saturated pixels (i.e. value 1) from the histogram |
| • | Zoom/Pan/Get Histogram Values (see instructions at bottom of tab) |
Image Statistics
Next to the preview image a set of statistics will be displayed. Please note that these values DO NOT include any changes made by clipping/stretching the preview image.
