|
Installation / First Run |
  
|
|
Installation / First Run |
|
32bit vs 64bit
The AllSkEye application is provided in a 32 and a 64bit version. If your version of Windows is 32bit then you need to install the 32bit version of AllSkEye. If you have a 64bit version of Windows then you have a choice as it will be able to run both the 32bit as well as the 64bit version of AllSkEye. In general the 64bit version is really only required if you are processing larger format images where the increased memory will make a difference.
The most important thing is that the correct camera driver is installed for whichever 'bitness' you choose.
Installation Windows Installer
The AllSkEye application can be installed via the provided Windows installer file.
Please Note:
Firewall / anti virus programs often flag application installers as suspicious if the application is new or not widely used (such as AllSkEye, which has a comparatively small user count). In most cases the firewall / anti virus software allows the user to bypass the warning and proceed with the installation. Should you encounter problems please get in touch.
Safety / Digital Signature:
You should ONLY download the AllSkEye installer from the AllSkEye website https://www.allskeye.com/download/ (the only exception to this would be if I provide you with a direct download link for beta testing purposes).
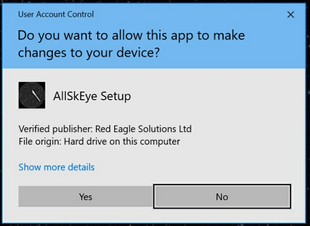
Additionally the AllSkEye application is digitally signed to ensure that the installer file has not been tampered with. When you install the application you will get the usual Windows 'Do you want to allow this app to make changes to your device?' prompt. Please ensure that the 'Verified Publisher' shows: Red Eagle Solutions Ltd
Running Different Versions of AllSkEye 'Side by Side'
Please note that you can install different versions of AllSkEye side by side without any issues. AllSkEye will create each application folder by appending the version number and 'bitness' e.g. folder name 'AllSkEye_0.9.13.1_x32'. It is also important to understand that each installation will have it's own settings file folder so settings will not be shared. Settings are located in the following folder which will be created when the app is first run:
| • | C:\Users\[your user name]\AppData\Local\AllSkEye_[version number] for example: C:\Users\Michael Poelzl\AppData\Local\AllSkEye_0.9.13.0_x32 |
Installation:
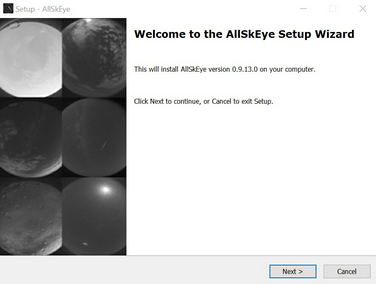

The windows installer allows you to install AllSkEye like any other windows program. By default the app will be install in the Program Files folder but this can be changed during the install process. If requested the installer can also create a desktop shortcut.
Un-installation:
Once installed the application can be removed like any other application by using the Windows Control panel 'Add or Remove Programs'. This will completely remove the AllSkEye and all it's components. Please note however that:
| • | During the un-installation process the program will ask you if you want to retain the settings file folder. |
| • | If you click 'Yes' then the folder and settings file will not be deleted. You will have to manually remove the folder later. |
| • | If you click 'No', then that folder and the settings file within it will be deleted and cannot be recovered. |
The AllSkEye application allows you to import and export settings files via buttons on the 'Settings' tab. When uninstalling the application and if you want to retain your settings, the best approach is to first export your settings and then fully uninstall the application including the removal of the settings folder.
First Run
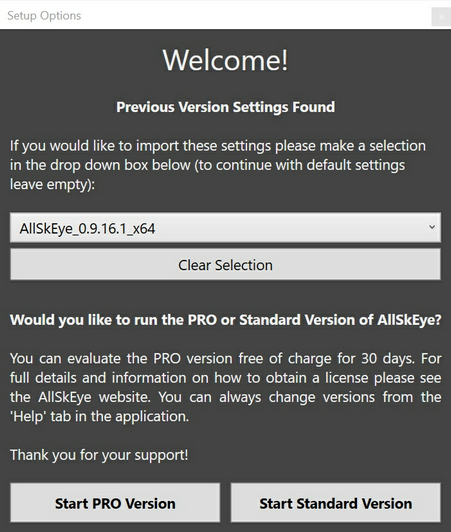
When the application is started for the first time the following panel will be shown:
Import Old Settings:
If the app has found old settings files from previous installations of AllSkEye it will show the option to import these old settings (see above image). Just select the corresponding version and the app will attempt to import them into the new version. To start with a fresh set of default settings just leave the drop down empty. If no old settings files were found this option will not be shown.
Chose Application Version:
To continue from this panel you have to select if you would like to run the PRO or Standard version of AllSkEye. For full details on differences and how to change between the two please have a look here: PRO Version Licensing
Settings Setup
Once the application has opened the application settings need to be configured to suit your circumstances. Please see here for help:
| • | AllSkEye Setup Tutorial Video: https://www.allskeye.com/knowledge-base/allskeye-quickstart-setup-tutorial/ |
Running Multiple Cameras on same Computer
Please note that you cannot install the same version of AllSkEye twice on the same computer (although you can install two different versions side by side, see next section). If you need to control two camera with the same computer you can achieve this by using just one installation. Please see Running Multiple Cameras for full information.